Retina Engrave
Our laser cutters are from Full Spectrum Engineering and are driven by the RetinaEngrave Windows software which is available as a free download (Legacy RetinaEngrave 3D -> DOWNLOAD RE1 FOR WINDOWS. See yellow highlighted link ). Designs can be started in the software, but often it is better to design images in a graphics program and use the Full Spectrum Engineering Printer Driver to print directly into RetinaEngrave. To do this, start RetinaEngrave first, and then open your image file to print.
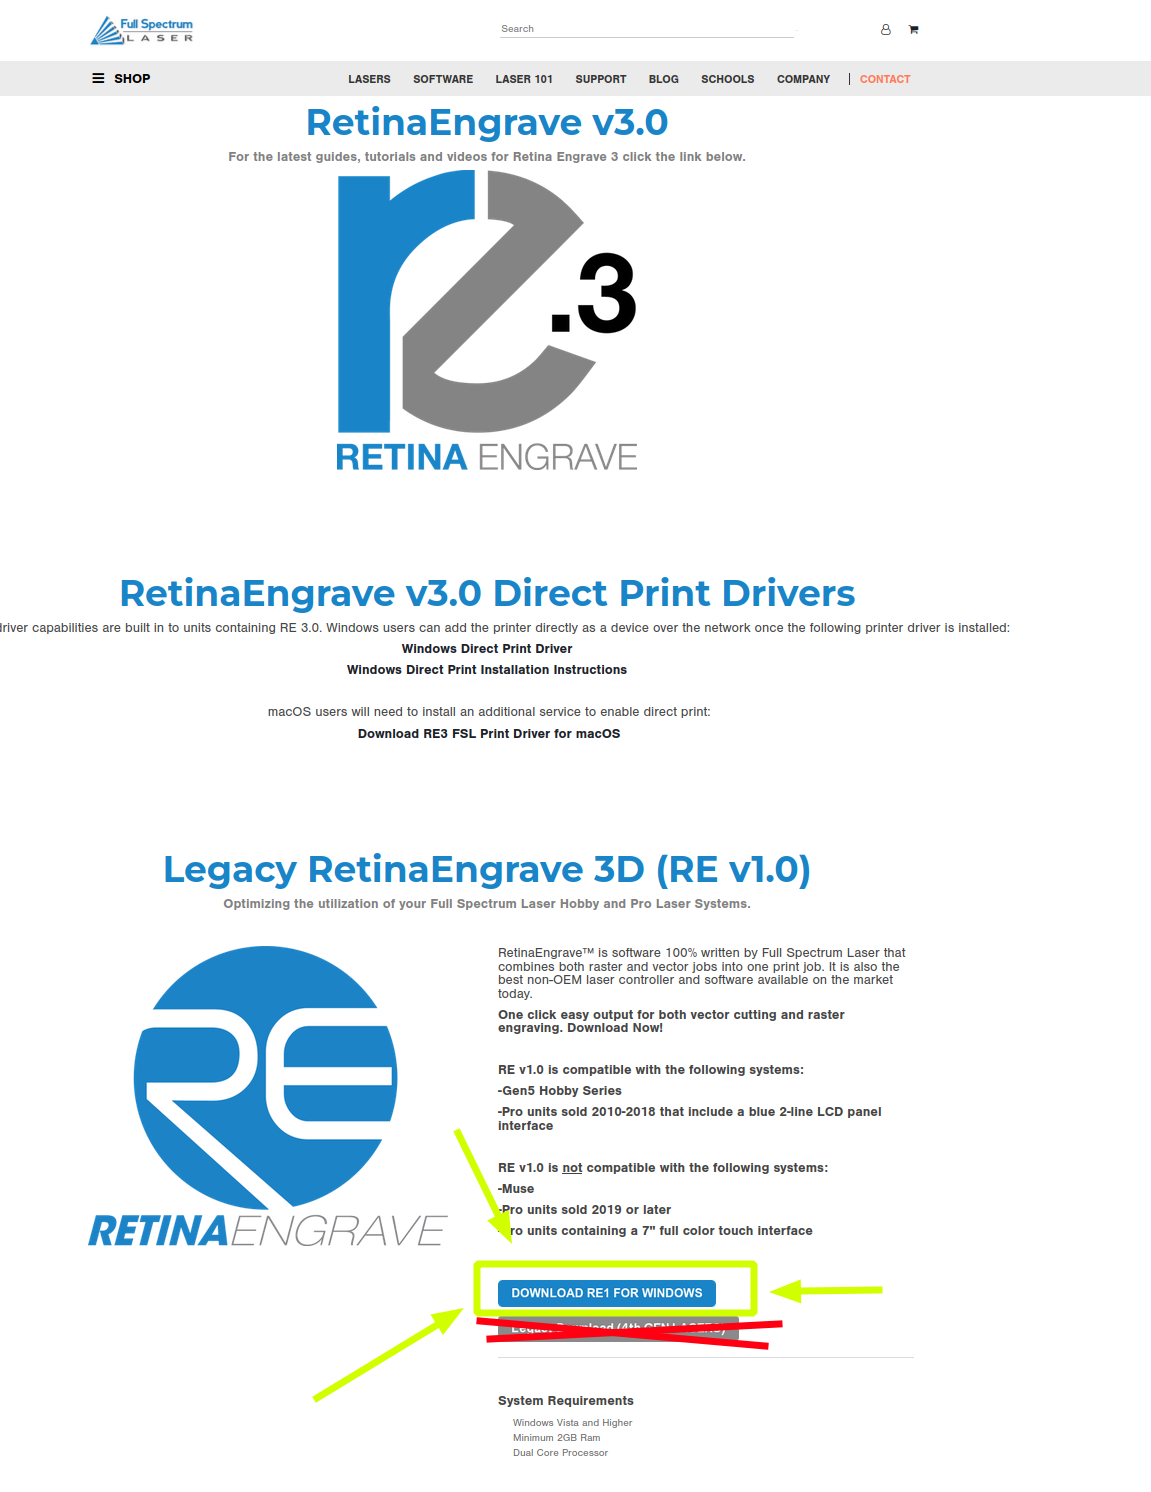
RetinaEngrave
As the sign on the laser cutter says, it has no brain, please use yours. RetinaEngrave is very simplistic and often will not do things as you expect, or feel are basic. It is also terrible about telling you what is wrong with your files, and many times searching online will not produce useable answers. Some things to keep in mind:
- Double check your design between the program you started in, and RetinaEngrave. The print driver is not smart, and cuts off sections if it resets to the standard letter size, can scale things when you need exact sizes, and most annoyingly renders solid lines into multiple ones at seemingly random. The fist two are easy to fix, but the last will take a lot of trial and error to make lines thinner before printing to RetinaEngrave, or cleaning it up inside RE.
- It's good to follow the Laser Cutter checklist, but make note of your settings before you start, and be prepared to fix them all right before you start(press G). A particular annoyance, the dropdown between Vector, Raster, or Raster then Vector. It likes to reset that after doing a perimeter trace.
- Be prepared for experimentation on power vs speed. Two passes at higher speed and lower power may cut better, take less time, and have less burn than one at lower speed and higher power.
Double Sided Laser Engraving
Remember RetinaEngrave's lack of brain. The internet will tell you you can make a design on separate layers of a graphics file, and print them separately into RE and they will line up. The internet lies for this software and this laser cutter.
- You need two wholly separate files
- The only way to make them line up is to put a big black registration square in the upper left, above your design. A 6mm one will be recognized
- Cut, then flip. Trying to line up a board to engrave side A then engrave and cut side B is almost impossible to get level. Instead, engrave and cut on side A, go steal a dental pick from the electronics bin, flip your object over in place, then engrave side B
- Blue painters tape or masking tape is your friend. Even if you don't need it to cover your surface to prevent burn, after you've engraved side B, sticking a strip of tap across your cutout parts and the board/plastic will let you pick up most, if not all, the pieces at once off the bed.
Working with Adobe Illustrator and RetinaEngrave
Adobe Illustrator is a fairly common vector art tool, but its not available at SynShop. The computer hooked up to the laser cutter has both CorelDraw and Inkscape on it if you are familiar with either, though as an Illustrator user I found both to be lacking in features I needed and confusing. Both of those programs seem to print reasonably well into RetinaEngrave via the Full Spectrum driver, but AI seems to have issues.
Helpful Tips and Useful Info:
- Make cut lines as thin as it will let you, try 0.001 width stroke lines with no fill
- Raster lines get weird, you can experiment with width, but double check how it looks in RetinaEngrave, at a certain thickness it decides its not one line, but instead gives you the outline of the space your line took up.
- If you plan on doing a raster engrave then vector cut, make your cut lines a lighter color than your raster lines, something like a light blue or green is visible, and will be easier to cut out later.
- Text....is a pain. No matter what I do, I can't seem to get RetinaEngrave to understand solid letters. Fortunately for my project, it was a small enough gap that the end result looks like a single engrave line
- The saddest truth about using Illustrator is that the safest, most correct way to get it into RetinaEngrave is to print your .ai file without scale adjustment to a PDF. Don't ask, I don't know, but it makes my head hurt too.
- Once you have a .pdf, you can open it and use the PDF reader to print via the Full Spectrum driver
- MAKE SURE TO SET A PAPER SIZE BIG ENOUGH. I believe its Foxit Reader on the computer hooked up to the laser cutter, and it will happily ignore the contents of the document when the checkbox 'Choose paper source by PDF page size' is checked. Instead uncheck that and go to the Properties of the Full Spectrum driver and find something larger than the measurement of your design, for instance to get my 12 x 12 design into RetinaEngrave I had to select C size sheet
- Printing this way will import the design into RetinaEngrave